An outdoor aviary gives birds room to fly while keeping them safe. It offers sunlight for healthy feathers and ventilation that lowers stress. Planning ahead around species, size, and placement prevents common mistakes.
This how-to walks people from thinking building to actually building aviary structures with clear steps. You will learn to assess needs, choose a footprint that fits yard space, and select frames and foundations that stand up to weather.
We cover safety as non-negotiable: full predator seals, correct mesh sizes, and secure doors. The guide also shows how to orient for morning sun and protect birds from wind, rain, snow, and heat.
Expect a practical blueprint that balances cost, durability, and enjoyment for your home flock. For extra examples and styling options visit aviary ideas.
Key Takeaways
- Prioritize flight space, sunlight, and ventilation for healthy birds.
- Plan size and site before buying materials to avoid costly errors.
- Use predator-proof mesh and raccoon-proof doors as essentials.
- Adapt the plan to climate and scale with modular panels.
- Place the structure for easy viewing from your home to boost care.
Understanding aviary design and your birds’ needs
Start by matching your goals for freedom, safety, and easy viewing to the species you plan to keep. Outdoor enclosures provide flight space, sun, and protection, but outcomes hinge on type, size, and the number of birds you house.
User intent and goals: Let your priorities—room to fly, predator protection, and clear sightlines from the house—drive layout choices. People who want daily enjoyment should place the structure where routine checks are simple.
Species profiles and practical needs
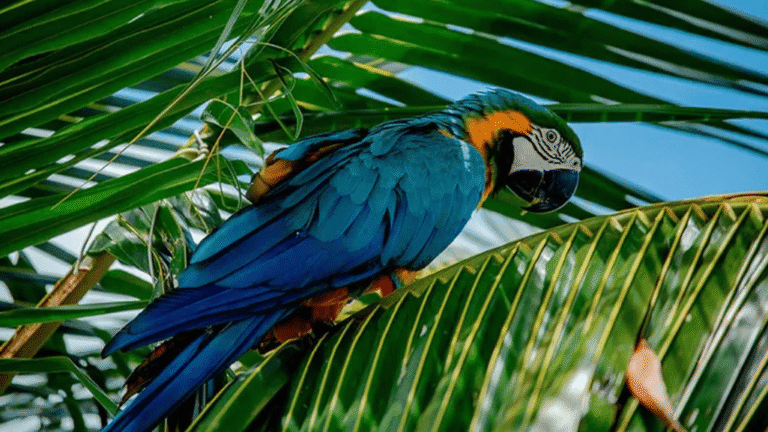
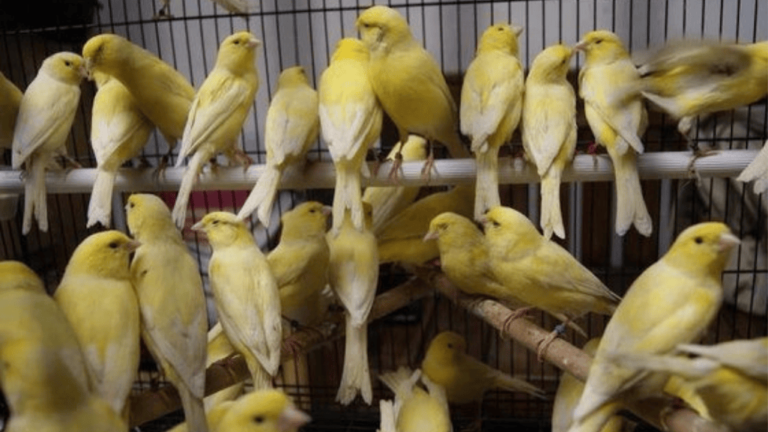
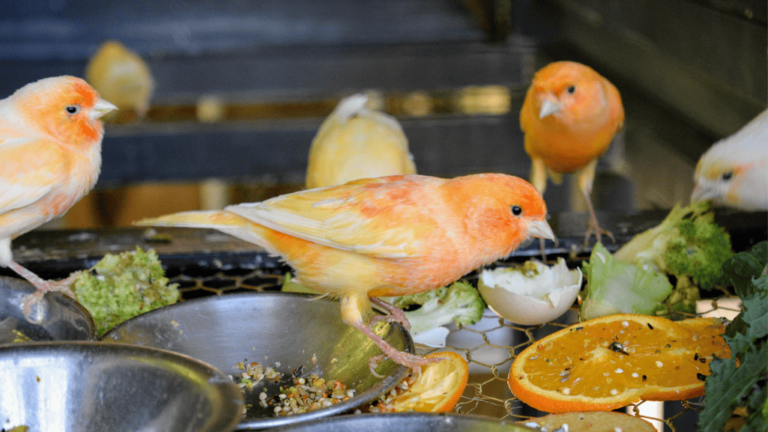
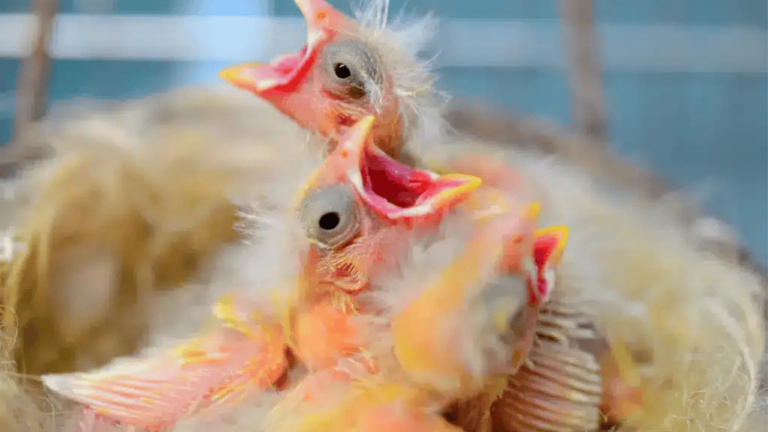
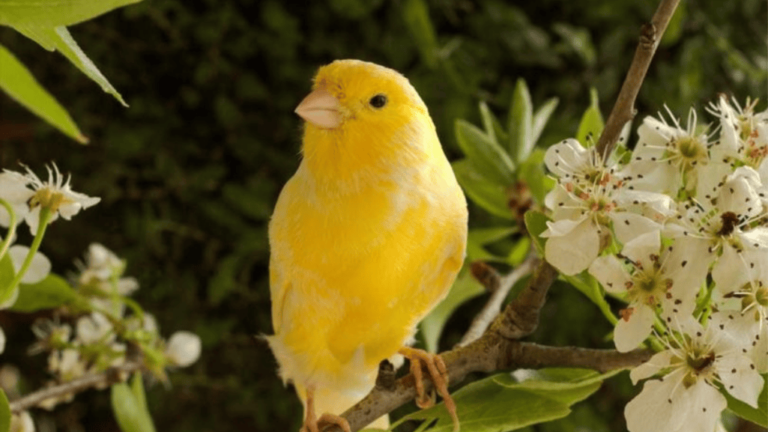
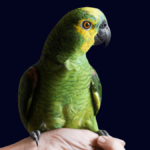
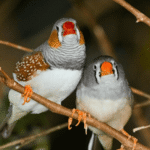
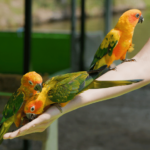
Parrots need tougher frames, chew-proof hardware, and enrichment for climbing. Pigeons and doves do well with shelves, nest baskets, and half-sheltered areas. Small finches benefit from longer flight runs and tight mesh to protect them.
Match enclosure volume to flock behavior so routine flights, perching, and social spacing occur without crowding. Make sure access points and doors support calm entry—fast flyers often need a double-door safety porch; ground‑feeders can use a secure single inward-opening door.
- Provide varied natural perches and foraging spots.
- Place food stations to limit contamination and simplify cleaning.
- Prioritize ventilation, dry shelter, and reliable water for daily welfare.
Planning size, site, and orientation
Before you build, picture how your flock will use the space at sunrise, midday, and dusk. That view guides footprint, height, and shelter so birds can fly, rest, and sun safely.

Right size for your birds and flock number
Size for flight first: plan a volume that is big enough for sustained flapping and short flights. Larger species and bigger flocks need more length and height to avoid crowding.
Choosing a visible, accessible, predator-aware location
Place the structure within sight of the house so you can monitor birds and deter tampering. Pick level ground with good drainage and wide access for tools and cleaning.
Avoid siting under a tree to prevent predator bridges from cats or raccoons and to keep managed sunlight.
Sun, wind, and shade: orient for morning light and weather protection
Open the main side toward morning sun so birds can bask early. Shelter one side with solid roofing and siding—about one third to half the area—on the windward side.
- Keep clear of noisy AC units or vents to reduce stress.
- Plan wheelbarrow paths, hose spigots, and nearby outlets for winter heated bowls.
- Trim overhanging branches and pitch roofs for proper drainage and snow load.
Materials and tools that make building easier and safer
Choose materials and tools that balance strength, cost, and long-term care. A clear parts list speeds work and highlights trade-offs between wood and metal frames before you cut a single piece.
Frames and panels: wood vs. metal trade-offs
Wood 2×2 frames are a lot cheaper and fast to work with using basic tools. They are easy to cut with a circular saw and repair on the fly. Pre-treat wood with bird-safe sealants and allow curing time.
Metal frames resist chewing and last longer, but they raise cost and need rust protection. Metal also requires bolts and a drill to join panels and may need angle brackets or plumber’s tape for reinforcement.

Wire choices, floor finishes, and essential tools
Use 19-gauge galvanized hardware cloth over chicken wire for strength and safety. Buy 48″ or wider rolls to reduce seams, overlap joins, and scrub burrs after cutting. Choose .5″ or .25″ openings for predator resistance.
- Tools: tin snips, wire cutters, a heavy-duty staple gun, drill, and circular saw.
- Hardware: exterior-grade screws, washers, bolts, and plumber’s tape for reinforcement.
- Floors: vinyl/linoleum is easy to clean and gentle on feet; pavers or concrete give durability and rodent resistance.
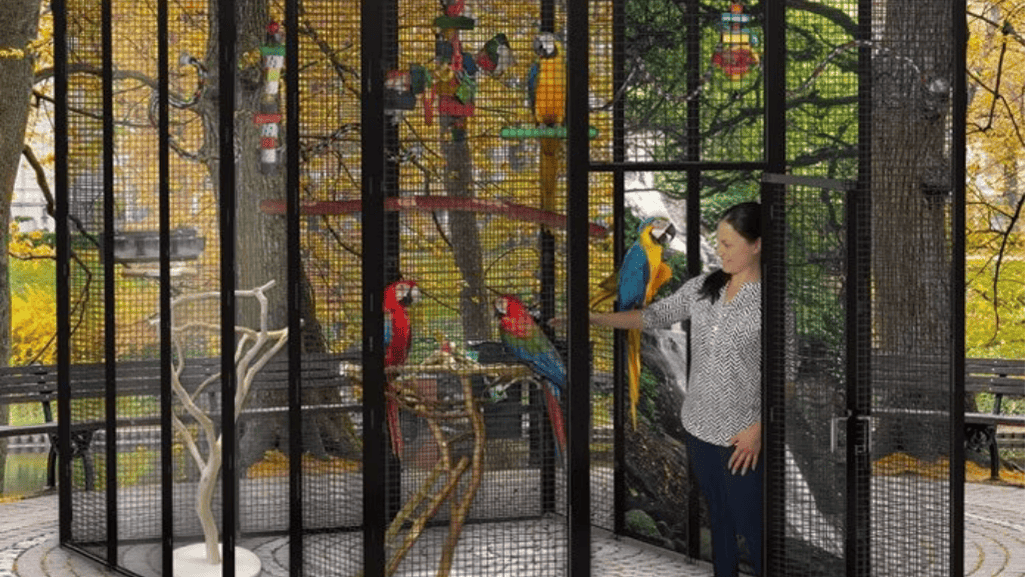
How to build a safe outdoor bird aviary structure
Begin construction by choosing a stable base and a repeatable panel size to simplify every next step. Make this decision first so the rest of the work follows a clear plan.

Foundations: soft (mesh + gravel) vs. hard (concrete/pavers)
Choose your foundation based on soil and permanence. Soft builds use underlay mesh and a gravel layer for drainage and portability.
Hard foundations—concrete or pavers—give a stable, rodent-resistant base that resists burrowing predators.
Panel frames and assembly: modular sections for flexible sizing
Cut 4×8 panels from 2×2 lumber and pre-drill bolt holes to speed assembly. Bolt panels together so the structure can be resized or replaced one piece at a time.
Standardizing panel size reduces waste and makes future repairs simple.
Hardware cloth installation: sealing sides, top, and bottom with overlaps
Attach 19-gauge galvanized hardware cloth to every surface—floor, sides, and roof—with at least 1.5-inch overlaps at seams.
Fasten with exterior staples, and back high-stress points with screws, washers, or strapping. Run mesh up the edges and tie it into panels so no base gaps remain.
Door construction: inward swing, gap coverage, and raccoon-proof latches
Build the door to swing inward with a consistent 1/8–1/4 inch clearance so it won’t bind. Cover hinge and latch gaps with cut-to-shape cloth to block entry points.
“Work step by step and inspect seams from inside and out; light leaks show gaps before they become problems.”
Use sturdy hardware and a raccoon-proof latch—keyed padlocks or locking carabiners on a hasp work well. Test the door action as part of each build step to ensure a true sealed envelope that keeps predators out.
- Tip: Strengthen corners with cross braces and add roof purlins for load and perches.
- After panels, seams, and the door are secure, cover the mesh with vinyl or pavers where needed to finish the floor.
Roofing, siding, and weatherproofing
A carefully planned roof and side coverage protects birds while keeping flight space open. At least one third to half the structure should be roofed and sided, facing the prevailing wind and morning sun for best comfort.

Half-roof coverage and angled roof for drainage
Plan a half-roof that gives an open flight zone and a reliable shelter for feeding and resting. Pitch the roof to shed rain and snow and to discourage predators from perching.
Use gutters or drip edges so runoff does not pool at the base. Choose durable, lightweight materials like corrugated panels or polycarbonate and fasten them to roof purlins with proper hardware.
Managing heat, rain, snow, and wind with siding and shade cloth
Install roofing and siding over the secured hardware cloth so the continuous predator barrier stays intact. Avoid chicken wire entirely; it fails against predators and can harm birds.
Add siding on the windward side for a dry refuge and use translucent panels to admit daylight without overheating. Deploy shade cloth seasonally to control glare and temperature while keeping airflow.
- Tip: Leave high gaps protected by mesh under eaves to preserve ventilation.
- Check fasteners after storms and add intermediate supports for heavy snow loads.
- Always seal penetrations where screws or wire pass through to avoid new gaps.
Interior layout, perches, and enrichment
Plan interior points—perches, drinkers, and nest boxes—so every bird can access essentials without crowding. A deliberate layout keeps flight lanes open and reduces stress. Start by sketching locations for perches, shelves, and feeding stations before you install hardware.

Natural perches and shelves to maximize space
Install varied-diameter perches from safe tree species to support foot health. Thick tree branches are better than uniform dowels because they reduce pressure points and mimic natural use.
Add sturdy shelves to increase usable horizontal space. Shelves work well for pigeons and doves and free up mid-air room for active flappers like parrots.
Water tubs, drinkers, and safe feeders
Provide multiple stations for water and food to limit competition and contamination. Use ceramic flat-bottomed dishes or secure feeders that are easy to clean. Refresh water daily and place tubs away from feeding areas to keep food dry.
Include at least one large, low tub for bathing and smaller bowls for drinking so birds can choose what they need.
Nests, mirrors, and keeping flight lanes clear
Offer nest baskets or boxes sized to species and mount them where they won’t block movement or doors. A single large mirror can encourage display behavior without causing crowding if placed with escape space nearby.
- Hang enrichment from crossbars or a single suspended piece, ensuring attachments are smooth and secure.
- Screen interior wire edges and check that any hardware cloth joins are covered to prevent snags.
- Keep pathways open so straight flight lanes reduce mid-air collisions and allow easy access for cleaning.
Routine care tip: Maintain removable dishes and perches, rotating items for deep cleaning. For more detailed bird care resources visit bird care resources.
aviary design safety checks and ongoing maintenance
Begin safety checks at the base and work upward so rodents and raccoons have no weak points to exploit. A full envelope uses hardware cloth across the bottom, sides, and top, with overlaps at seams so no gap exceeds 0.5 inch.
- Verify the envelope: secure bottom-to-wall overlaps with hardware cloth and tie into wall panels.
- Confirm mesh size: use .5″ or .25″ openings of sturdy wire; never rely on chicken wire or soft netting.
- Inspect the door each time you enter; cover hinge and latch gaps with cut pieces of cloth so motion stays smooth without openings.
- Fit a raccoon-proof latch and position it out of reach; consider a keyed lock or locking carabiner for added security.
Set a monthly maintenance step: tighten fasteners, replace brittle ties, and re-staple loose sections. Clean floors with vinyl or pavers for fast debris removal and record predator activity over time so you can adjust defenses quickly.
“Tight seams, proper mesh, and a tested door stop most incursions.”
For a practical example of perimeter solutions, see a secure quail enclosure build that applies these same steps.
Conclusion
Wrap up your project by prioritizing safety, sunlight, and durable hardware.
Plan a bird aviary around the species and pick a size that is big enough for true flight. Orient the structure for morning sun and cover one third to half with a sturdy roof and sided shelter.
Seal the bottom, sides, and top with correctly gauged hardware cloth (.5″ or .25″) and finish the mesh base with vinyl, pavers, or concrete for an easy-to-clean floor. Fit an inward-swing door, cover hinge gaps, and use a raccoon-proof lock. Keep tools like wire cutters and tin snips on hand for tidy edges.
Use modular frames to save time and money. For a deeper practical example of a walk-in option, see this walk-in aviary guide.
FAQ
What size should the bird enclosure be for parrots versus small birds?
Which mesh is best: hardware cloth, wire mesh, or chicken wire?
How should I build the frame and what materials work best?
What kind of foundation is recommended — soft or hard?
How do I make the door predator-proof and safe for birds?
What roofing and weatherproofing features should I include?
How do I arrange interior perches, feeders, and enrichment without cluttering flight paths?
What floor materials are easiest to clean and comfortable for birds?
How can I protect birds from predators and rodents?
What tools and hardware should I have before building?
How do I orient the structure for optimal sunlight and shelter?
Can I build a modular structure that’s easy to expand later?
How often should I inspect and maintain the enclosure?
Is hardware cloth safe for all bird species and sizes?
What are best practices for water and feeder placement?
How do I choose between wood and metal siding for weather protection?
What should I consider when adding nest baskets and breeding spaces?
Are there local regulations or permits I should check before building?